I’ve been posting TripAdvisor reviews for a few years now, and one thing that’s always bothered me is the fact that I was never able to embed the map of ‘places I’ve visited’ on their site, into my blog. So what’s so important about using maps, and why would I want to embed maps into my blog?
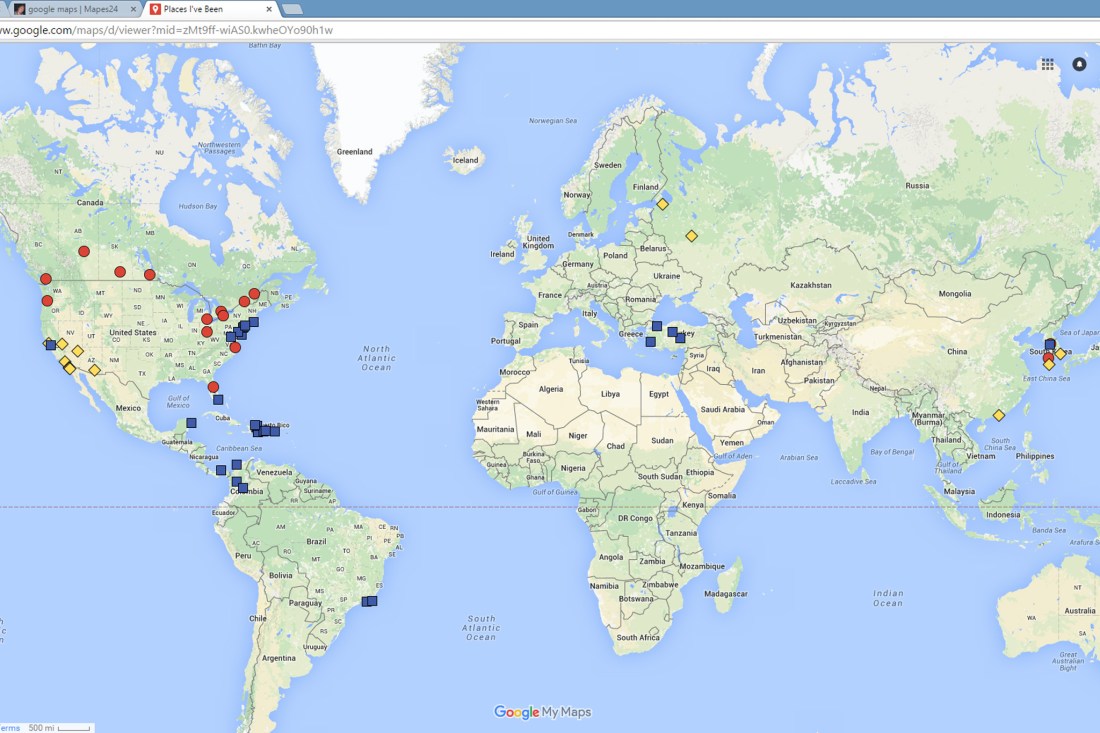
- It Allows Me to Keep Track of Places I’ve Visited and Provides Information Regarding my Travel Habits: After plotting all the places I’ve visited, I noticed that I’m particularly fond of traveling to coastal cities, and have rarely traveled to truly landlocked cities (except when traveling with family).
- It Gives Me Ideas On What Countries/Cities I Should Consider for Future Travels: After plotting all the places I’ve visited, it becomes immediately clear that the mid-western/mountain states in the U.S., much of South America, Africa, Europe and South-east Asia have been neglected and could use some exploring!
- Embedding Maps Allows Me to Speed Up My Workflow: As I can now skip the mundane process of taking screenshots of maps, and editing them, before posting onto my site.
Though the following are not just specific to Google Maps, I’m also able to:
- track distances traveled on my journey
- set specific paths between countries/cities that I’ll be visiting or have already visited
- add description/notes
- add photos, and
- add directions to specific locations
So how does one go about creating their own custom maps using Google’s software?
- First, you’ll need to have a google account (gmail), as all your notes will be saved on your Google drive.
- Then go to Google Maps
- You’ll see the following screen, where you’ll then hit the menu button that’s located to the left of the ‘search’ box.
- Then click on My Maps, which will open a new option where you can choose to see your maps or create a new map.

After creating a new map, all that’s left is to input the cities that you’ve visited or planning to visit on your next trip. Once finished do not click on the +Share button (as that will only give you the link). Click the three vertical dots to the right of the +Share button, then click the “Embed on My Site” option. This will provide you with the html code that you can use to embed your map directly onto your site.

Using map software has definitely been helpful in organizing my trip to South America next year, and hopefully it’ll prove just as useful for you all as well! 🙂

Good information, thanks for sharing.
LikeLiked by 1 person
My pleasure! 🙂
LikeLiked by 1 person
Thanks for this post! I’ve always wanted to create a map of my travels like this but didn’t know how until now 🙂
LikeLiked by 1 person
Awesome, glad you were able to find the post helpful!
LikeLiked by 1 person